
Introduction
A Billing Account is what receives a bill. Subscriptions produce charges; the account is what those charges are addressed to, and the only place a Bill is actually assembled. A customer can have several. Subscriptions assigned to the same account are billed together on one bill; subscriptions that need their own bill go on separate accounts. Accounts are created and managed from the customer profile, and a subscription is linked to one when it’s created. Real-world example A customer with electricity, water and gas subscriptions can have all three on one billing account and receive a single bill — or three separate accounts and three separate bills.By the time the account does anything, each subscription on it has already been rated independently: its own Plan, its own rules, its own charges. The account’s job is assembly — gathering those results and producing the bill’s totals. For that it carries a Pricing Module of its own, attached by an admin rather than subscribed to. Some things can only be worked out once the subscriptions are summed. Late Payment is the clearest case: an unpaid combined bill should attract one surcharge on the whole outstanding balance, not a separate surcharge per subscription that then gets added up. How much that module has to work with depends on the account’s Type.
Single vs. Composite Billing Accounts
When creating a billing account, you choose its Type from a dropdown — this determines how the final bill is built from the subscriptions linked to the account. The difference is not how many subscriptions the account holds — either type can hold several. It is whether those subscriptions share a Plan, because that decides how much of them can be summed into the bill’s totals. Single — every subscription in the account is on the same Plan. They therefore carry the same Values and Components and run the same billing rules; only their Subscription Properties differ, so a rule’s conditions decide which branch fires and the amounts come out different per subscription. Because the vocabulary is identical across all of them, every component sums through — custom and predefined alike. If the Plan defines ten components, all ten arrive in the bill’s totals and the account’s Pricing Module can write rules against any of them. Composite — the subscriptions sit on different Plans, which may belong to different Pricing Contexts. Those contexts can define entirely different custom components, under different names and in different numbers, so there is no general way to add them together. Only the eight predefined components — Subtotal, Late Payment, Net Total, and Tax 1–5 — exist on every Pricing Context, so those are the only ones a composite bill’s totals can be built from. Each subscription becomes one line item, and the totals come only from that shared set.This is why those eight components are compulsory on every Pricing Context. They aren’t there for validation tidiness — they are the shared vocabulary that makes a consolidated bill possible at all. All five Tax components exist on every context whether or not they were surfaced, which is what keeps the sum safe: a context using no taxes simply contributes zero rather than being missing a component. See Component Rules and Constraints.
Billing account setup
Billing accounts are created from the customer details screen.1. Open customer details
Go to the customer record and open the customer details page. From the customer details page, click the Billing Accounts tab.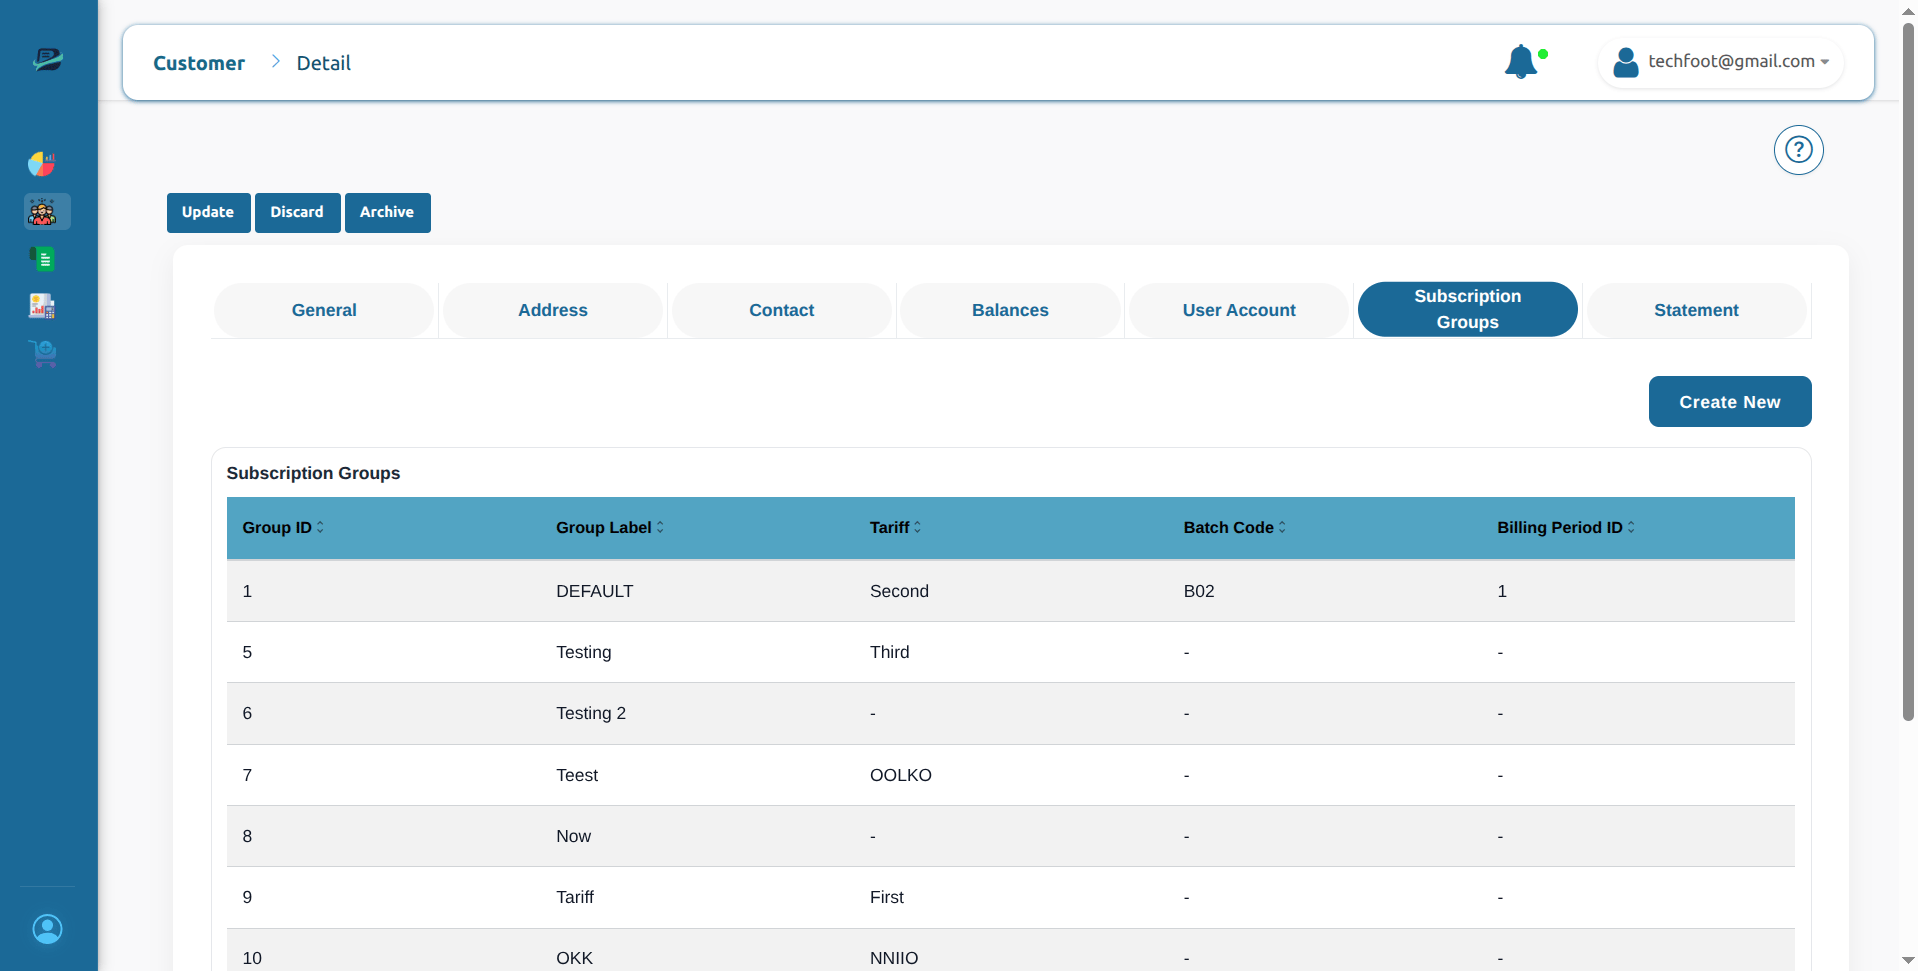
2. View billing accounts
The Billing Accounts tab shows all billing accounts linked with the selected customer. The table displays:3. View subscriptions inside an account
When you click a billing account row, a drawer opens from the side. This drawer shows all subscriptions linked with the selected account. The subscription list includes: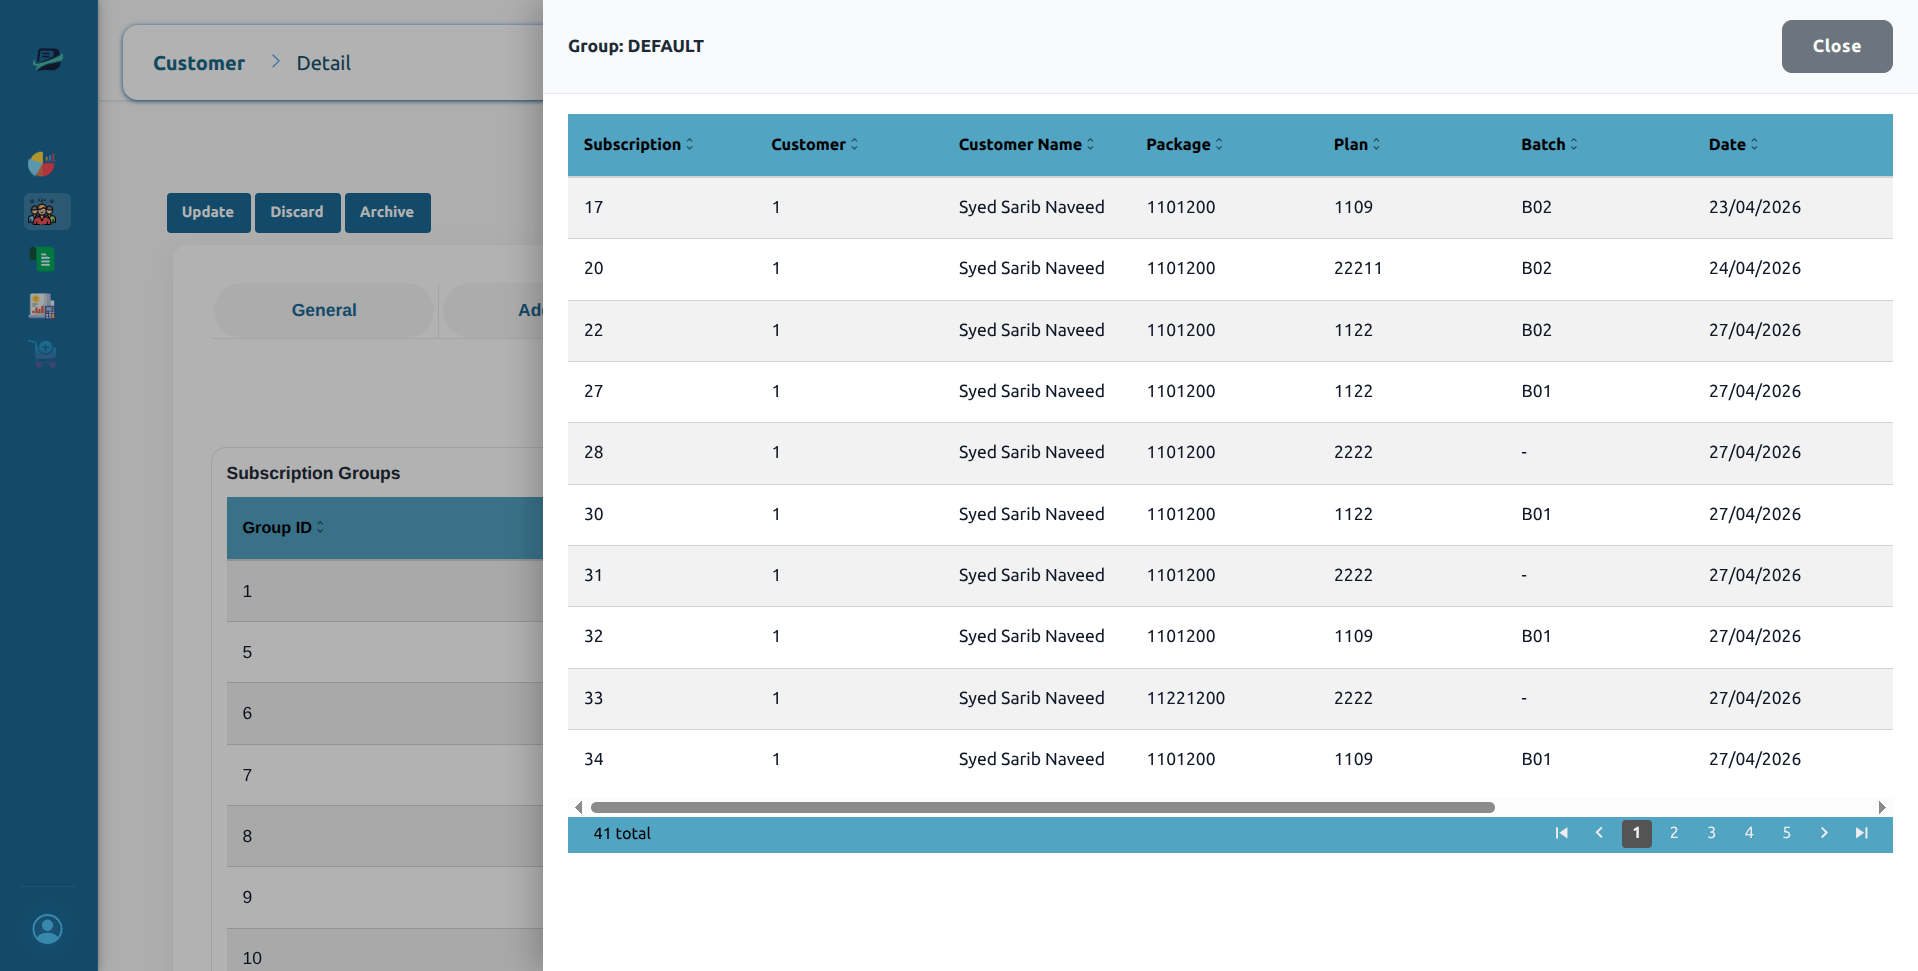
Create a billing account
1. Click Create New
From the Billing Accounts tab, click Create New. This opens the Create Billing Account drawer.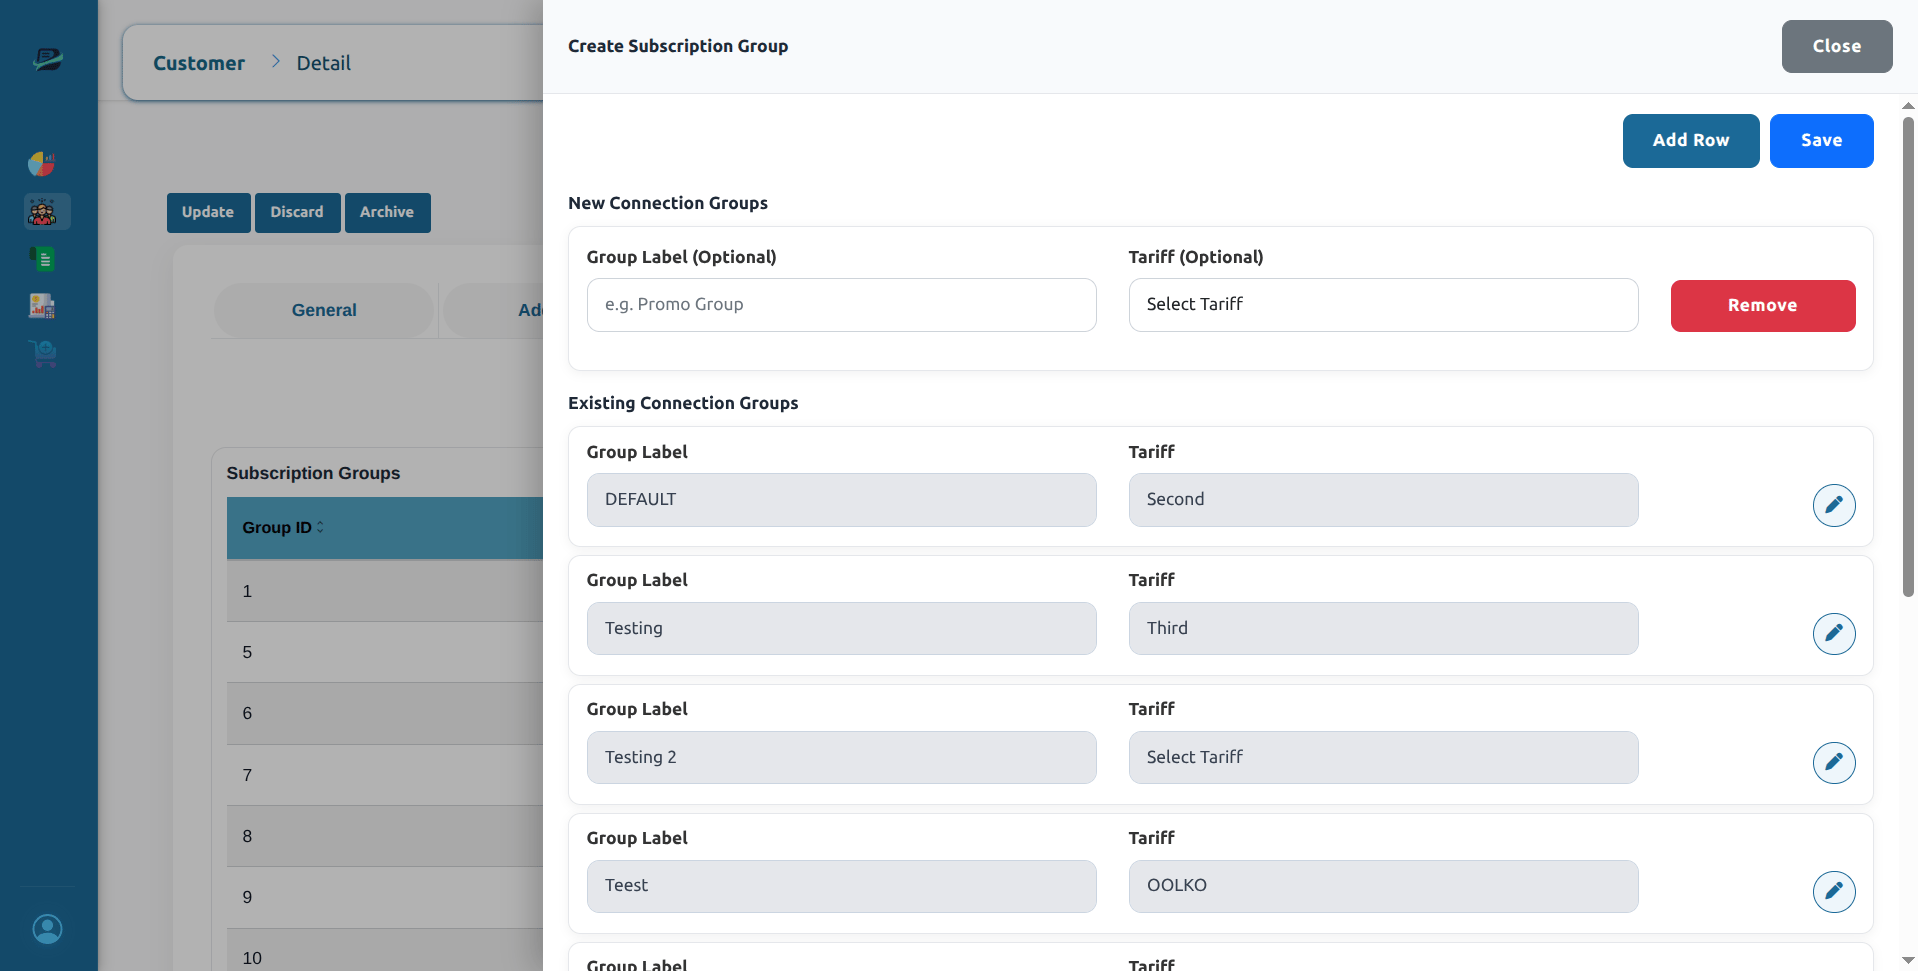
2. Add a new account row
Click Add Row to add a new billing account. Each new account row contains: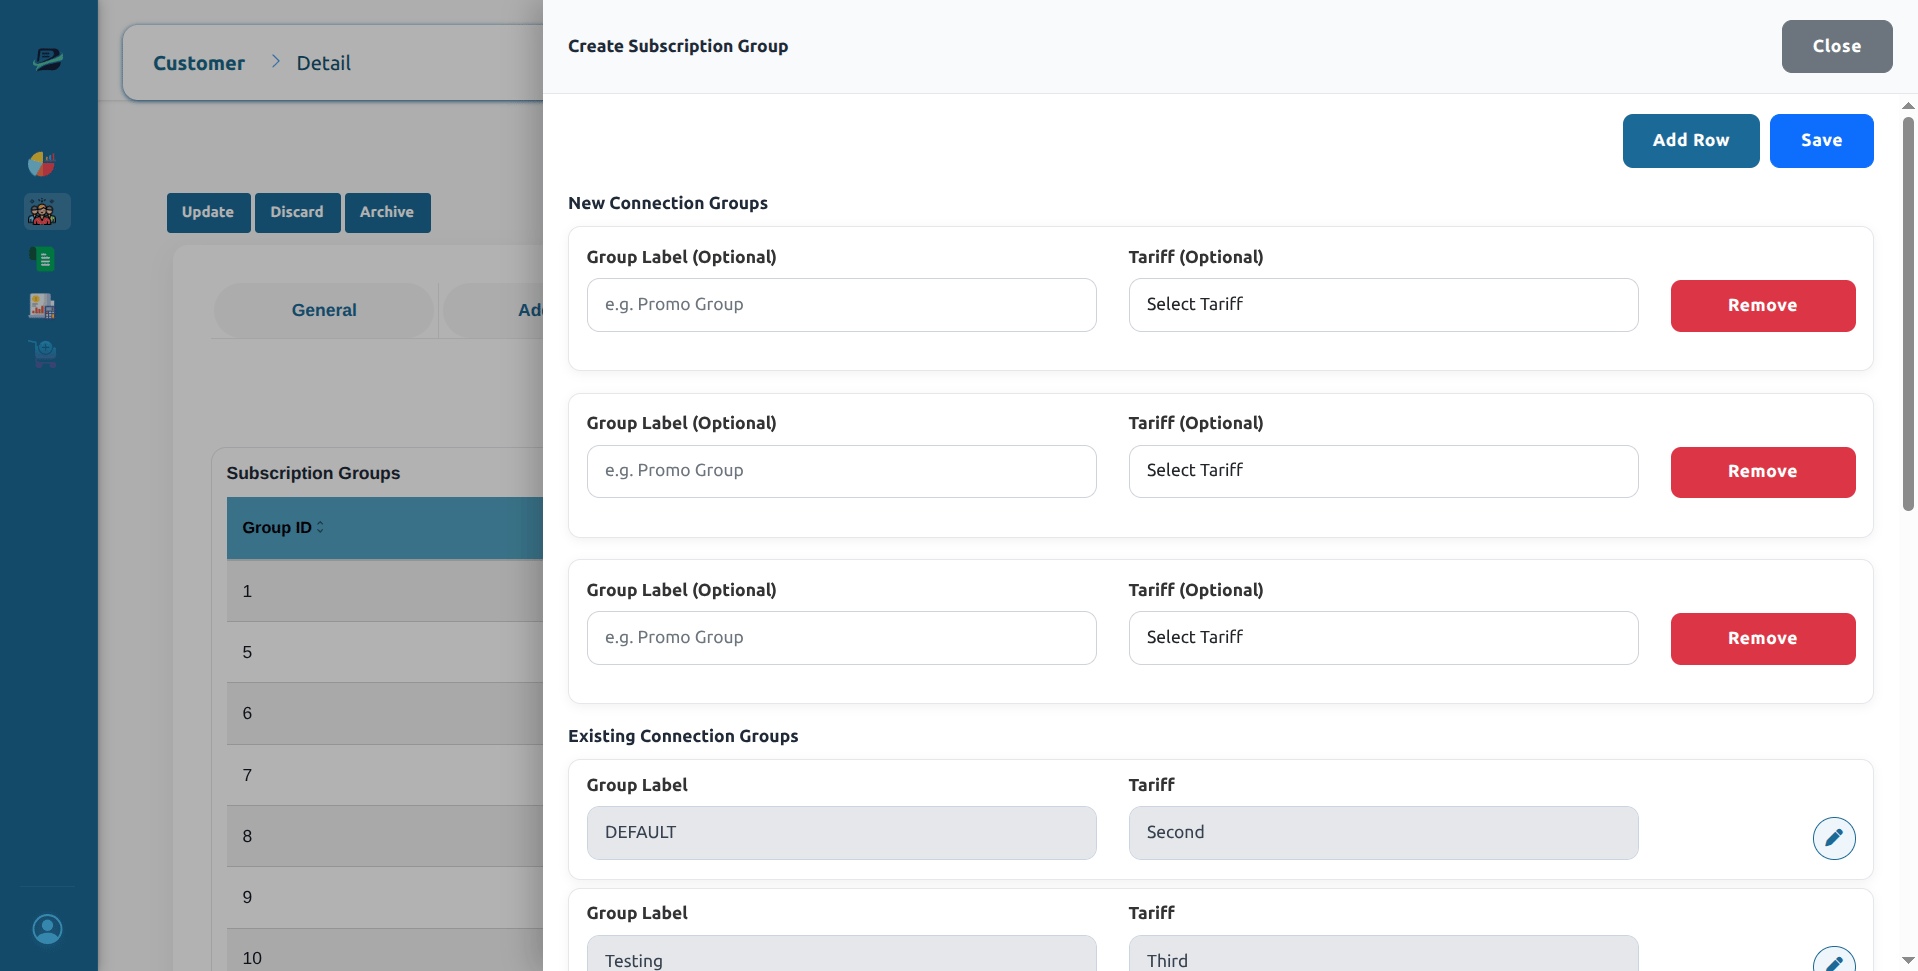
3. Save billing accounts
After adding the required account rows, click Save. If the account is saved successfully, the system shows:Account settlements
The Settlements feature provides a consolidated, quick-access view of all financial accounts associated with a customer’s billing accounts. This allows you to easily check balances and payment priorities without navigating away from the customer profile.1. Access settlements
From the Billing Accounts tab, click the green Settlements button located at the top right, next to the Create New button.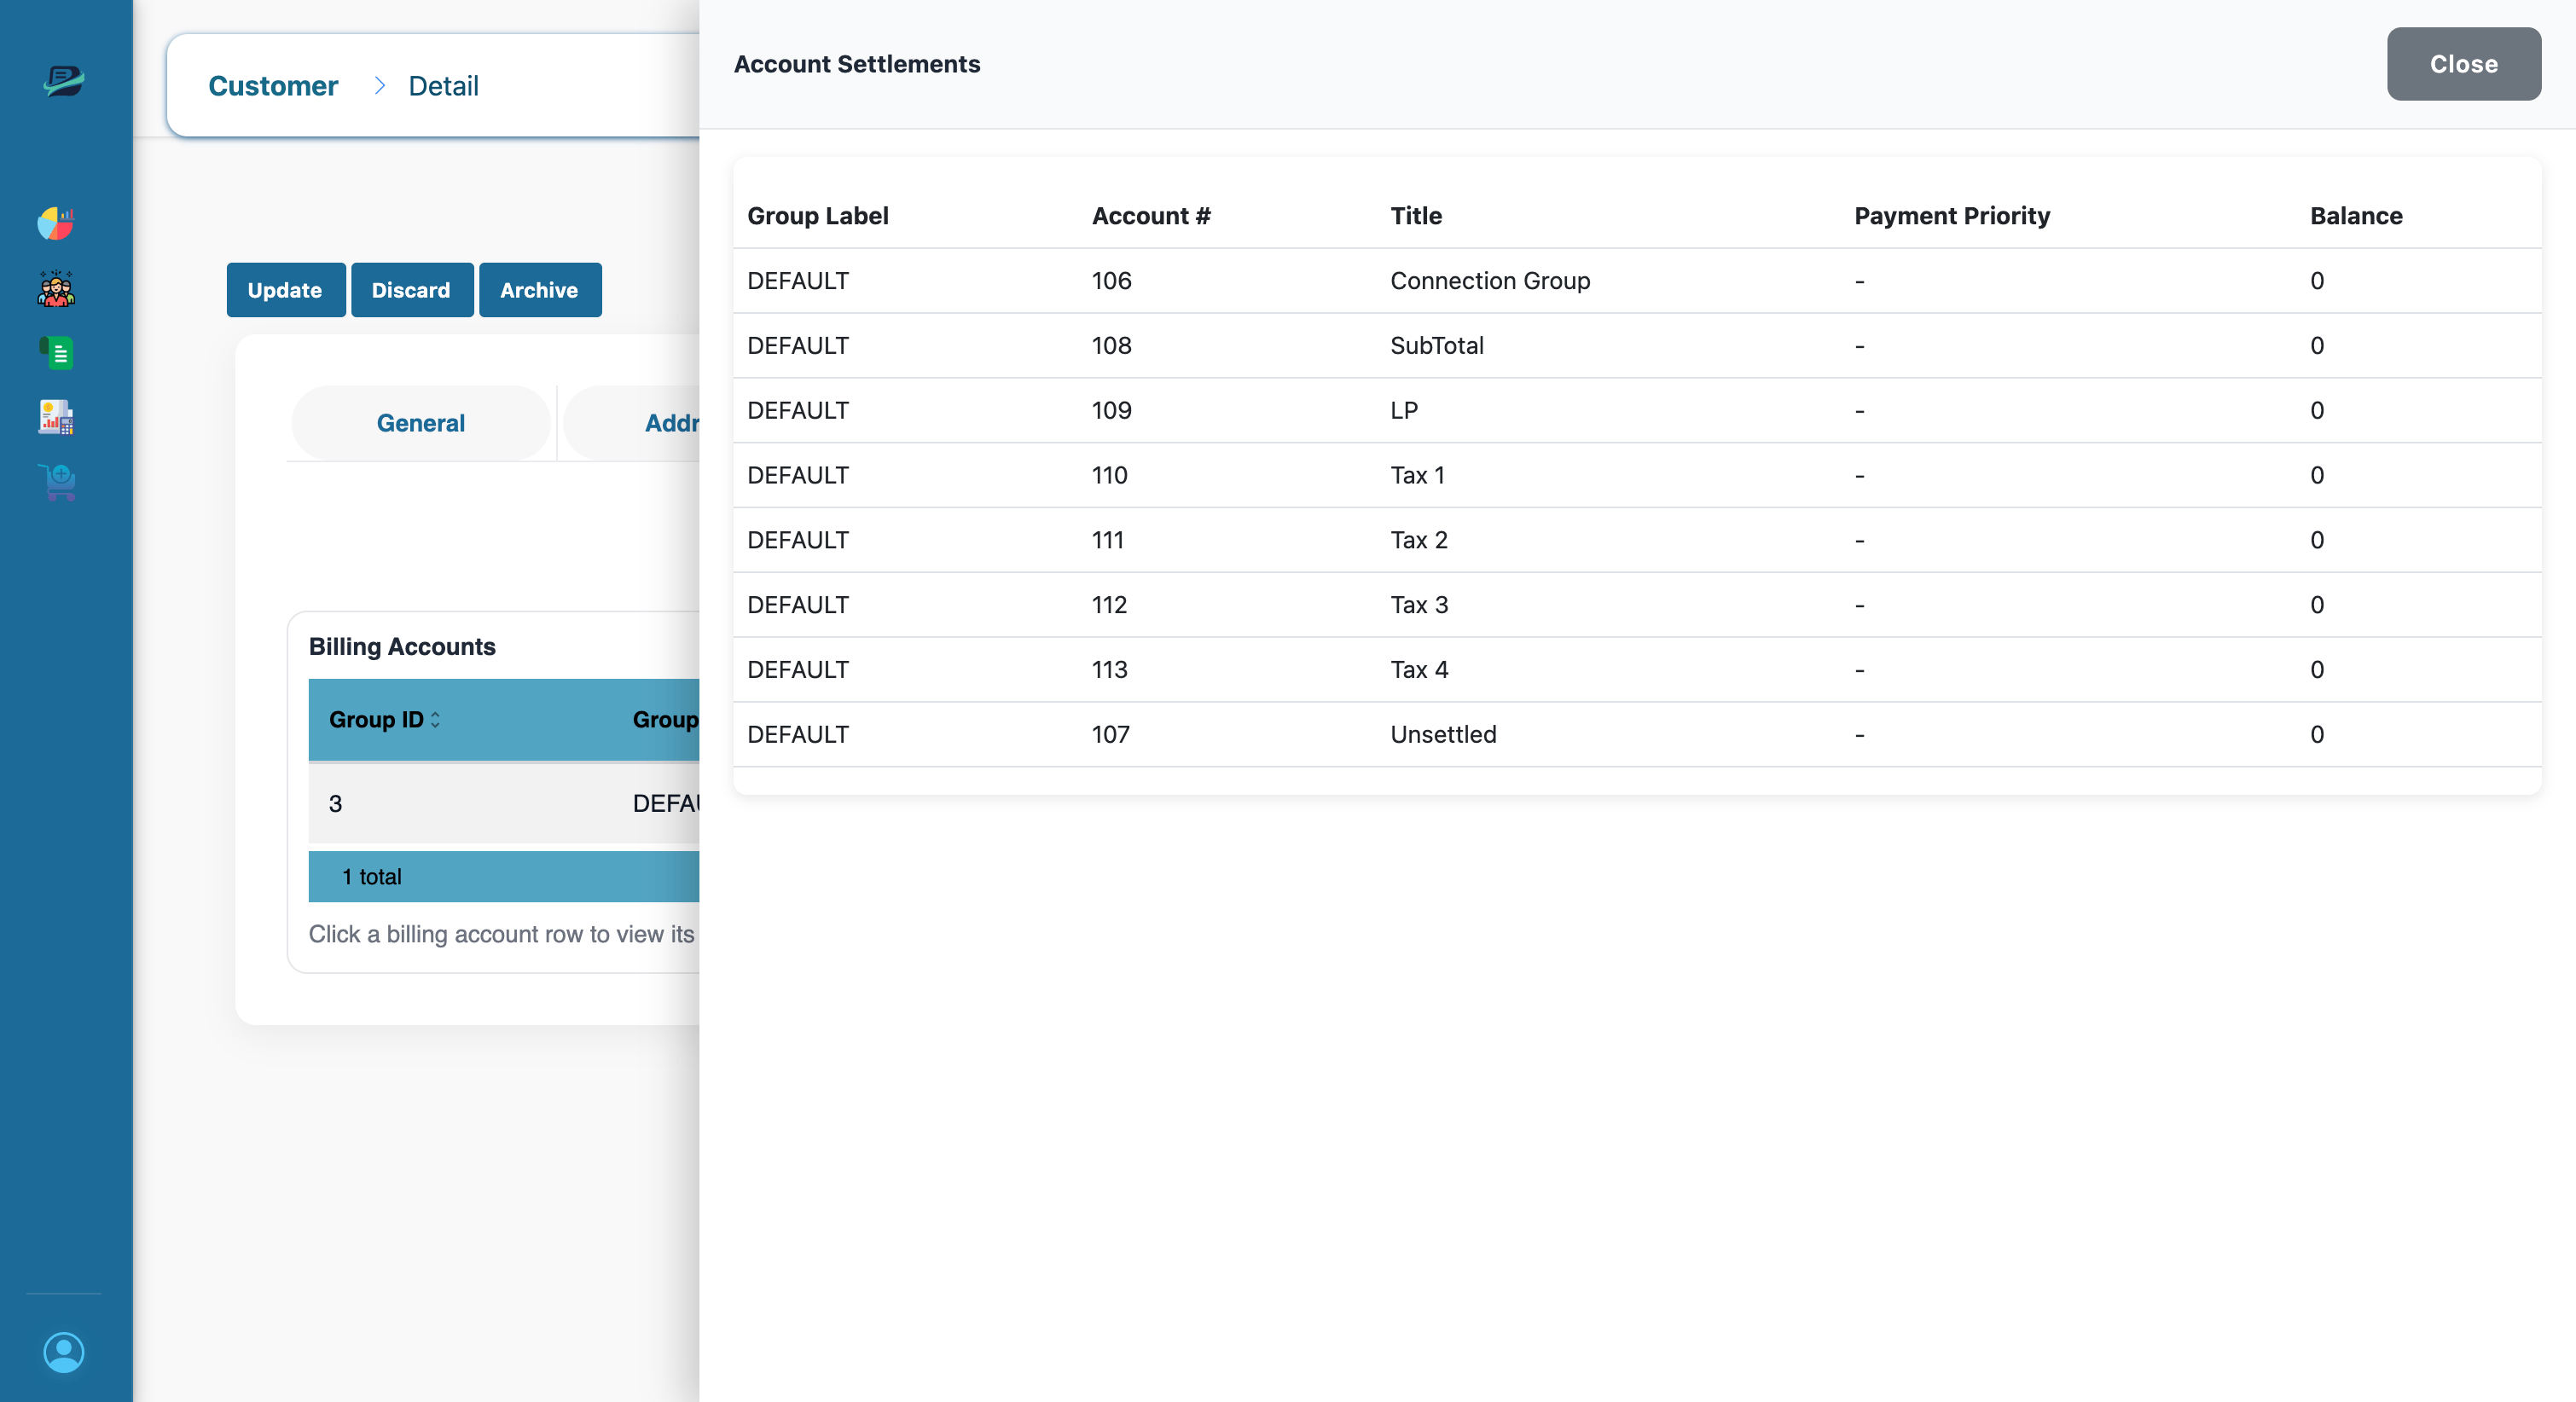
2. View settlements
When you open the drawer, the system automatically identifies all active billing accounts for the current customer and fetches real-time financial details for the linked accounts.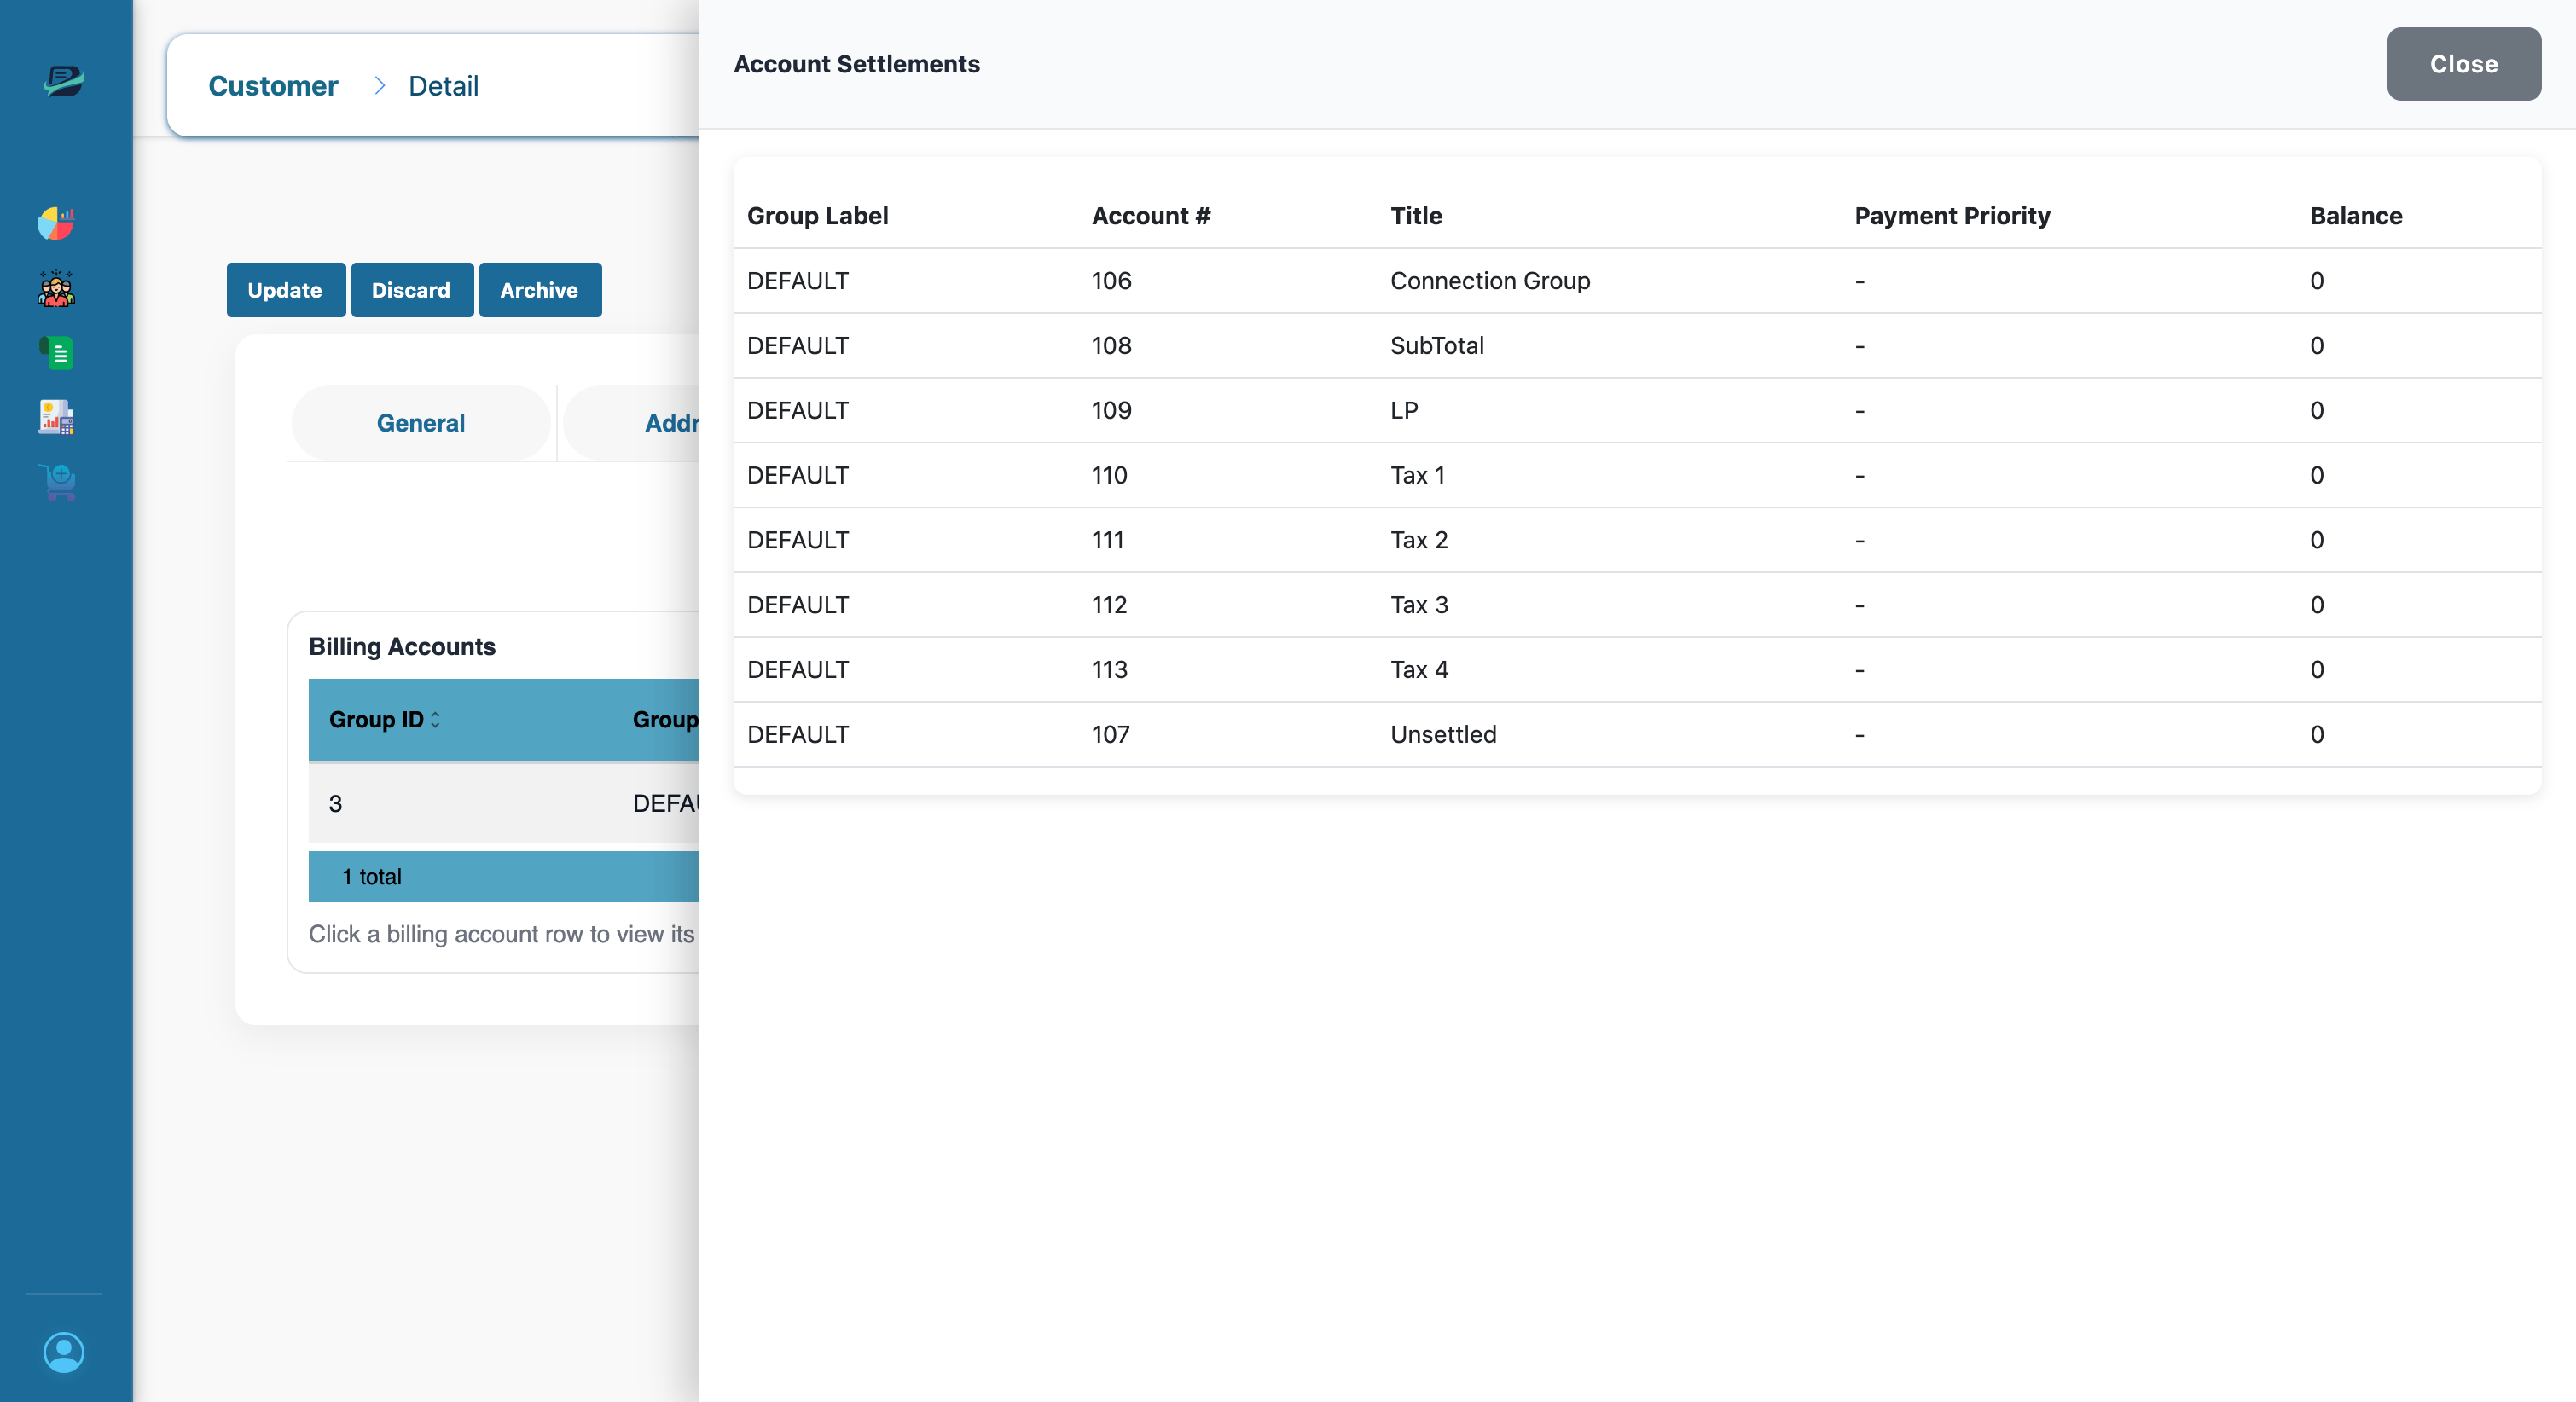
If no financial accounts are linked, you will see a “No accounts found for the current billing accounts” message instead of the table.